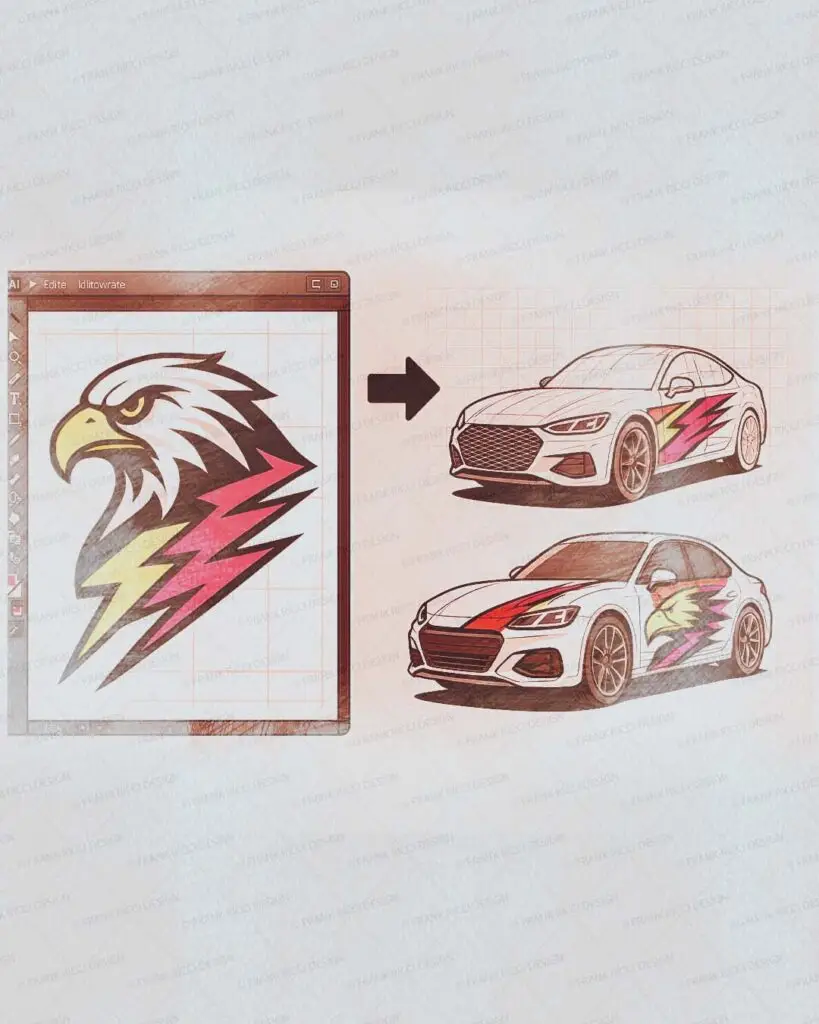
How Does a Graphic Designer Create a 2D Design That Translates Perfectly onto a 3D Vehicle?

This is a question that often goes unnoticed by clients: how can a designer create a flat 2D layout that, once printed and applied, aligns accurately and flows harmoniously across the complex 3D surfaces of a vehicle?
This challenge becomes even more intricate when a design includes elements that span across multiple body panels — such as a hood, fender, and front bumper — where precision alignment is critical.
An Overlooked Complexity
To most clients, the process may appear simple — just a few clicks in Illustrator or Photoshop, or now even through AI tools. But industry professionals, especially experienced wrappers, know that achieving perfect visual coherence on a 3D surface is anything but straightforward.
If a designer fails to account for the actual proportions, curvature, panel gaps, or surface deformations, the result is misaligned logos, broken patterns, and distorted visuals that compromise the entire project.
Not All Designers Are Created Equal
We can identify two main categories of professionals:
- Generalist designers often rely on standard 2D vector templates that include the five primary views (front, rear, sides, top). This method is efficient when the design is basic and the vehicle surfaces are relatively flat. These designers often have no direct contact with the wrapper, which increases the risk of miscommunication.
- Specialized wrap designers, on the other hand, are detail-oriented professionals with deep sector-specific knowledge. They collaborate directly with wrappers, request custom templates, and in many cases, physically measure the vehicle — like a tailor fitting a suit. Many are also proficient in working with 3D vehicle models and UV maps to ensure greater control and predictability.
The Traditional Approach: Physical Measurement and Template Adjustment
Before vector templates became mainstream, physical measurements were the only way to achieve accuracy. This method is still widely used: either the designer or the wrapper measures the actual car using a tape that simulates the curvature of the wrap film. These measurements are then adapted into the digital file, which is refined to more closely represent the real vehicle geometry.
Understanding Vinyl Behavior and Deformation
The Advanced Approach: 3D Models and UV Mapping
Today, advanced designers often incorporate 3D vehicle models, sourced from CAD archives or racing simulators. Using UV mapping, they can visualize the exact placement of every graphic element in relation to the vehicle’s surface topology.
This methodology, combined with field experience and continuous communication with the wrapper, allows for ultra-precise designs where all components align seamlessly and enhance the car’s form.
Curious to explore these concepts further? We’ll be diving deeper into this topic soon on our podcast Under the Wrap Design.
Ready to bring your wrap project to life?
Want to explore How to Choose the Right Wrap Design for Your Vehicle? Click here ⧉
